Este site usa cookies para melhorar a experiência do usuário. Ao usar nosso site, você concorda com todos os cookies de acordo com nossa Política de Cookies.
Quality

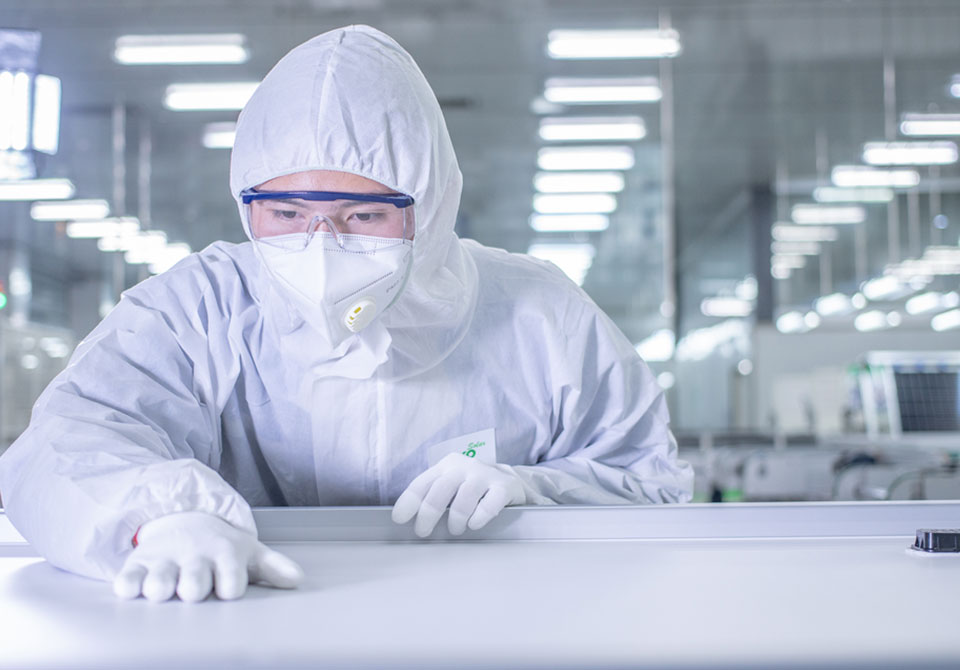
52 steps quality control and inspection process
Continuous line monitoring and video/photo records for each cell and panel
The most advanced quality assurance devices
Comprehensive QC information management system in place to allow quality data flow constantly
Intelligent alarm and stop mechanism in case of any deviation or errors
Stringent acceptance criteria and the tightest tolerance levels
A team of 1500 quality control professionals
“Zero” defects objective

Dependable system performance due to comprehensive approval certification.
High yields over the long run and high investment security due to stringent reliability and safety tests.
Increased bankability due to independent certification by an internationally recognized testing and certification authority.
Strong power generation in a given time and space because of the high efficiency of the solar cells.
Consistent performance and durability after exposure to intense sunlight and in extreme conditions.
Less O&M needed due to quality of materials used.
Quality Certificate

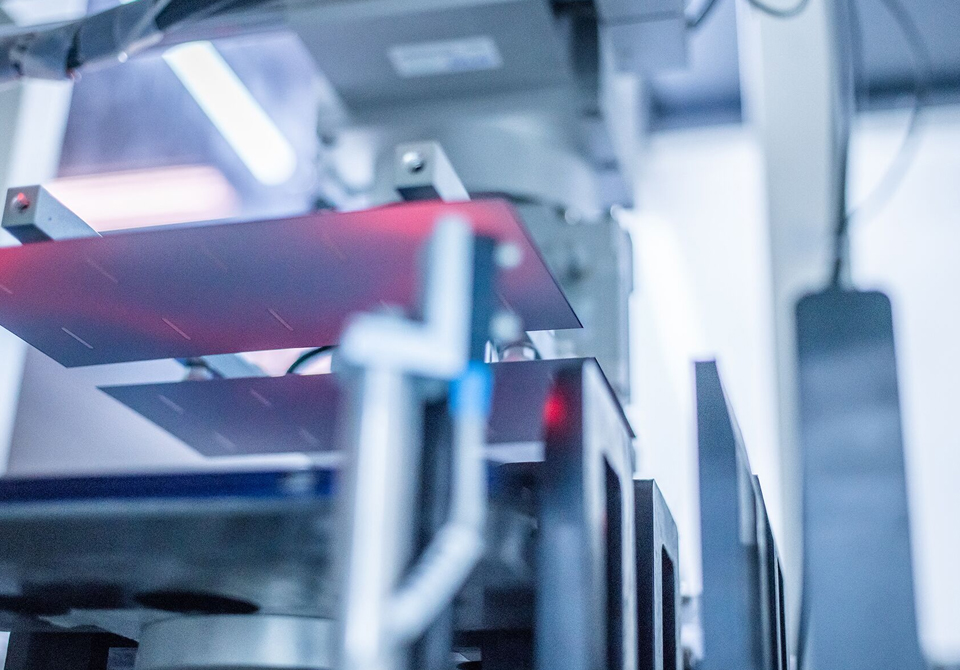
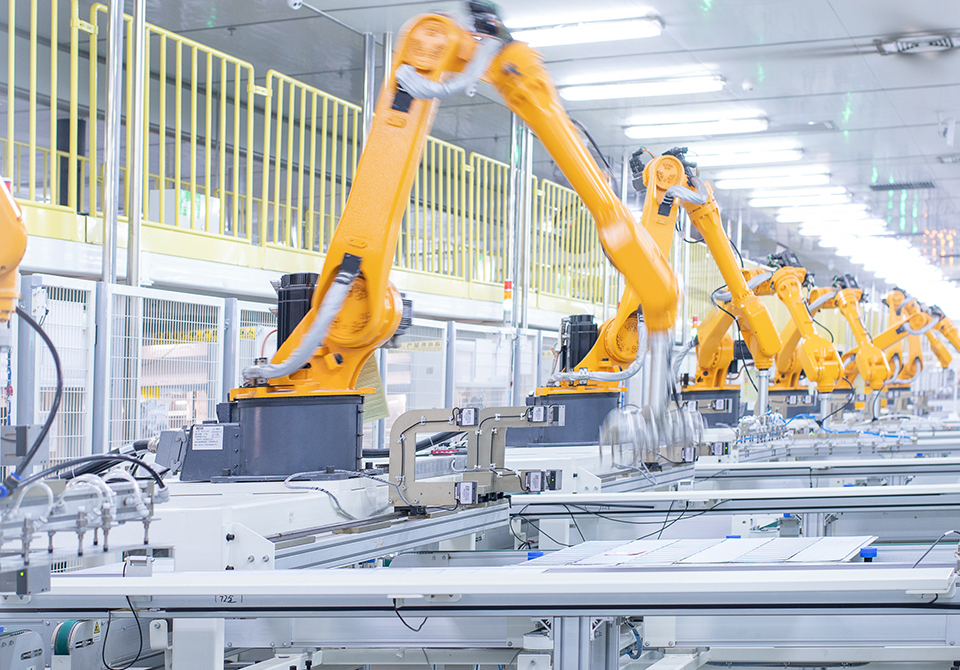
JinkoSolar’s smart factory quality team makes use of automated checking and analysis devices and is bringing the quality management into a new era. The traditional manual inspection is partially being supplemented by specialized measurement instruments. Whereas previously just a manual check allowed the desired premium quality to be verified. Today, photometric robots with extremely precise optical sensors can now carry out the required steps. In addition to the functional criteria, the optical measurement devices also focus on visual properties. All components are inspected for micro cracks, hot spot and other surface defects. The QC robots lends its attention to even the finest of details, every little shortcoming is discussed to achieve the best quality. The length of time required to complete a measurement is reduced significantly.
What’s more, it does not just measure individual points; rather it precisely measures the entire surface area. Subsequently, the resulting data derived from this process is then recorded, documented, and shared within the organization simultaneously. Correction data is created if any deviation occurs, and can be used to optimize components at an early phase.